Why Choose a Diversion Safe?
Burglars spend an average of 8 minutes in a home. That means they’re looking for the obvious: drawers, jewelry boxes, and under the mattress. But our hidden safes give you the upper hand. Each one is made to blend in naturally with your environment, so your valuables stay out of sight and off a thief’s radar.
Top Picks for Everyday Security
- Cola Can Safe – Perfect for kitchen pantries, dorm rooms, or office shelves. Looks just like a real soda can.
- Wall Socket Diversion Safe – Mounts into your wall and blends in with any outlet plate.
- Book Safe with Lock – Hide items on your bookshelf in plain view. Ideal for bedrooms and offices.
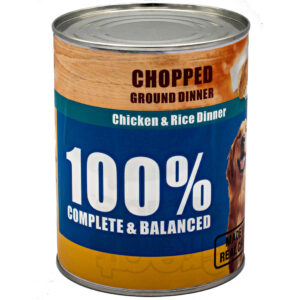
- Dog Food Can Safe – Throw it in the pantry for a convincing place to stash small valuables.
Great for Homeowners, Travelers, and Students
These safes aren’t just for home use. They’re a must-have for:
Best Hidden Safe Ideas by Room
- Living Room: Wall socket safes and photo frame safes
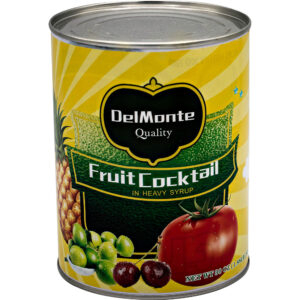
- Kitchen: Coffee can safes, soda stash cans, food container safes
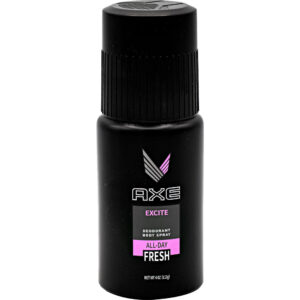
- Bathroom: Hairbrush or deodorant stash
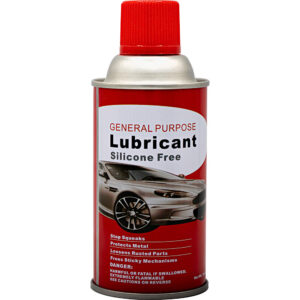
- Garage or Shed: WD-40 stash cans, lubricant can diversion safes
Quick Answers for Smart Shoppers
Q: Are these safes fireproof or waterproof?
A: Most diversion safes are not fireproof. They’re meant for discreet hiding — not fire or flood protection. Pair with a fireproof safe if needed.
Q: Where’s the best place to hide cash at home?
A: In plain sight. That’s the power of a good diversion safe — soda cans, books, or even a fake wall outlet.
Q: Can I travel with these?
A: Absolutely. Items like the Cola Can Safe or Dog Food Diversion Safe are great for stashing valuables in luggage or backpacks.
Expand Your Personal Protection Strategy
Why Our Diversion Safes Work
- Discreet design: Look and feel just like real products
- Trusted quality: Durable, realistic, and made to fool even nosey house guests
- Affordable protection: Everyday security that doesn’t attract attention
Shop Now and Secure Your Valuables
From dorm rooms to hotel stays, these hidden safes are trusted by homeowners, travelers, and anyone who needs peace of mind. Browse our full lineup below and find the best stash container for your lifestyle.
🔐 Hide in plain sight. Protect what matters.